
The short answer
Photograph the roof from the ground, wide and close, then the inside: the stain, the ceiling and anything damaged. Photograph fallen tiles or debris where they landed before moving them, and note the date and time, keeping damaged items. Stay on the ground, since a safe photo is enough.
From the ground, then from inside
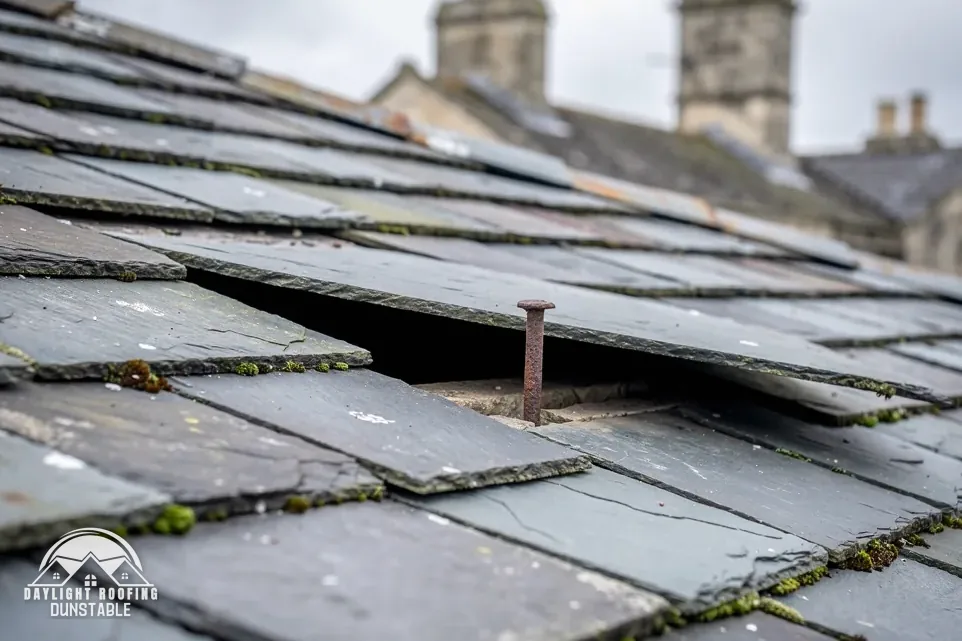
Begin outside, standing on firm ground. Take a wide shot of each side of the house showing the whole roofline, so the damage can be placed in context. Then move closer, using the zoom rather than your feet, and photograph anything that looks wrong: a gap in the tiles, a displaced ridge, a chimney that leans, a gutter hanging loose or lead that has lifted. A pair of binoculars, where you have them, lets you see detail without leaving the ground. Look along the ridge, around the chimney and down the edges of the roof, since those are the places where displaced material shows up.
Next go indoors. Photograph the wet or stained area, then step back and photograph the whole room so the position can be seen. Include the ceiling, the walls below it and any furniture or belongings that have been wetted. Where the hatch is within easy reach, one shot of what you see through the opening is useful. Stay on the steps, and do not step onto the ceiling or between the joists, because neither will carry you.
Take several frames of each subject rather than one. A few of them will be blurred, and a second angle can show something the first missed. Take a short video if water is still entering, since movement shows where it comes from. The page on wind damage to roofs lists what a gale can do to a roof, which helps you to know what to look for.
A checklist for the pictures
| Subject | How to take it |
|---|---|
| Whole roof | Each side, from ground level |
| Damaged area | Zoomed in, without leaning out |
| Fallen debris | Where it landed, before moving |
| Gutters and chimney | From the garden or pavement |
| Ceilings and walls | Close up, then the whole room |
| Belongings | Each damaged item, then the place it stood |
A phone stores the date and time inside each picture file. Leave that information in place and do not edit or crop the originals. Make copies for anyone who asks, and keep the originals on the phone or back them up to a cloud account. A short note in the phone, with the date, the weather and the steps you took to limit the damage, sits well alongside the pictures.
Photograph the stain again after a day of drying, and again if it spreads. A series taken over several days shows whether water is still arriving, and that tells a roofer more than a single shot of a mark that may no longer be wet.
If a neighbour's property has been hit, or a tree or fence is involved, photograph that as well from your own side. A tree or other fallen object has its own page on a tree fallen on a roof.
Keeping evidence for the insurer
The Financial Ombudsman Service says it will "usually look at expert reports and photos". It adds that the insurer will "normally ask a surveyor to write a report", and that "The insurer has to prove that the exclusion applies". Your own dated photographs are therefore part of the record, alongside any report an insurer arranges.
Do not throw away broken tiles, a damaged fitting or a ruined carpet until the insurer says it can go. Put debris to one side and out of the way instead, once it has been photographed where it fell. Hold on to receipts for sheeting, tape or bin bags bought for a temporary cover, since they show what you spent holding the damage in check. If someone else owns the building or manages it, send them the same set of pictures.
Then tell your insurer and read the policy. The page on whether an insurer pays for an emergency make-safe gives the Ombudsman's wording on storms, and the emergency roof repairs hub puts photographs in the order of work. Pictures can also be sent to 07880 284133 on WhatsApp, which lets us look at the damage before a survey.